Introduction
A VSCode Chat Extension is an extension uses the Chat extension API by contributing a chat participant - a domain expert that can answer user queries within a specific domain.
The reason why I am looking into the VSCode Chat Extension is that I want to build a domain expert on Threat Modeling.
In this blog, I will talk about the basic usage of a chat extension. Here are the references:
Getting Started
Install Yeoman globally:
npm install --global yo generator-code
Create skeleton code by running:
yo code
Fill out the necessary information:
- identifier
- description
- bundler: <unbundled>
- package manager: <npm>
Generated Files
I want to briefly talk about the files that are generated.
.VSCode
The .vscode/ folder contains:
tasks.json: this file defines built taks, including thewatchscript that monitors your TS code in watch modelaunch.json: this file uses the${defaultBuildTask}to ensure the project is built before launching the extension.
Extension.ts
The src/extension.ts is the entry point of the vscode extension.
It exports two functions:
activate(): this function is called when your extension is activated. Keep in mind that, this function only executed once when your extension is activateddeactivate(): this function is called when your extension is deactivated.
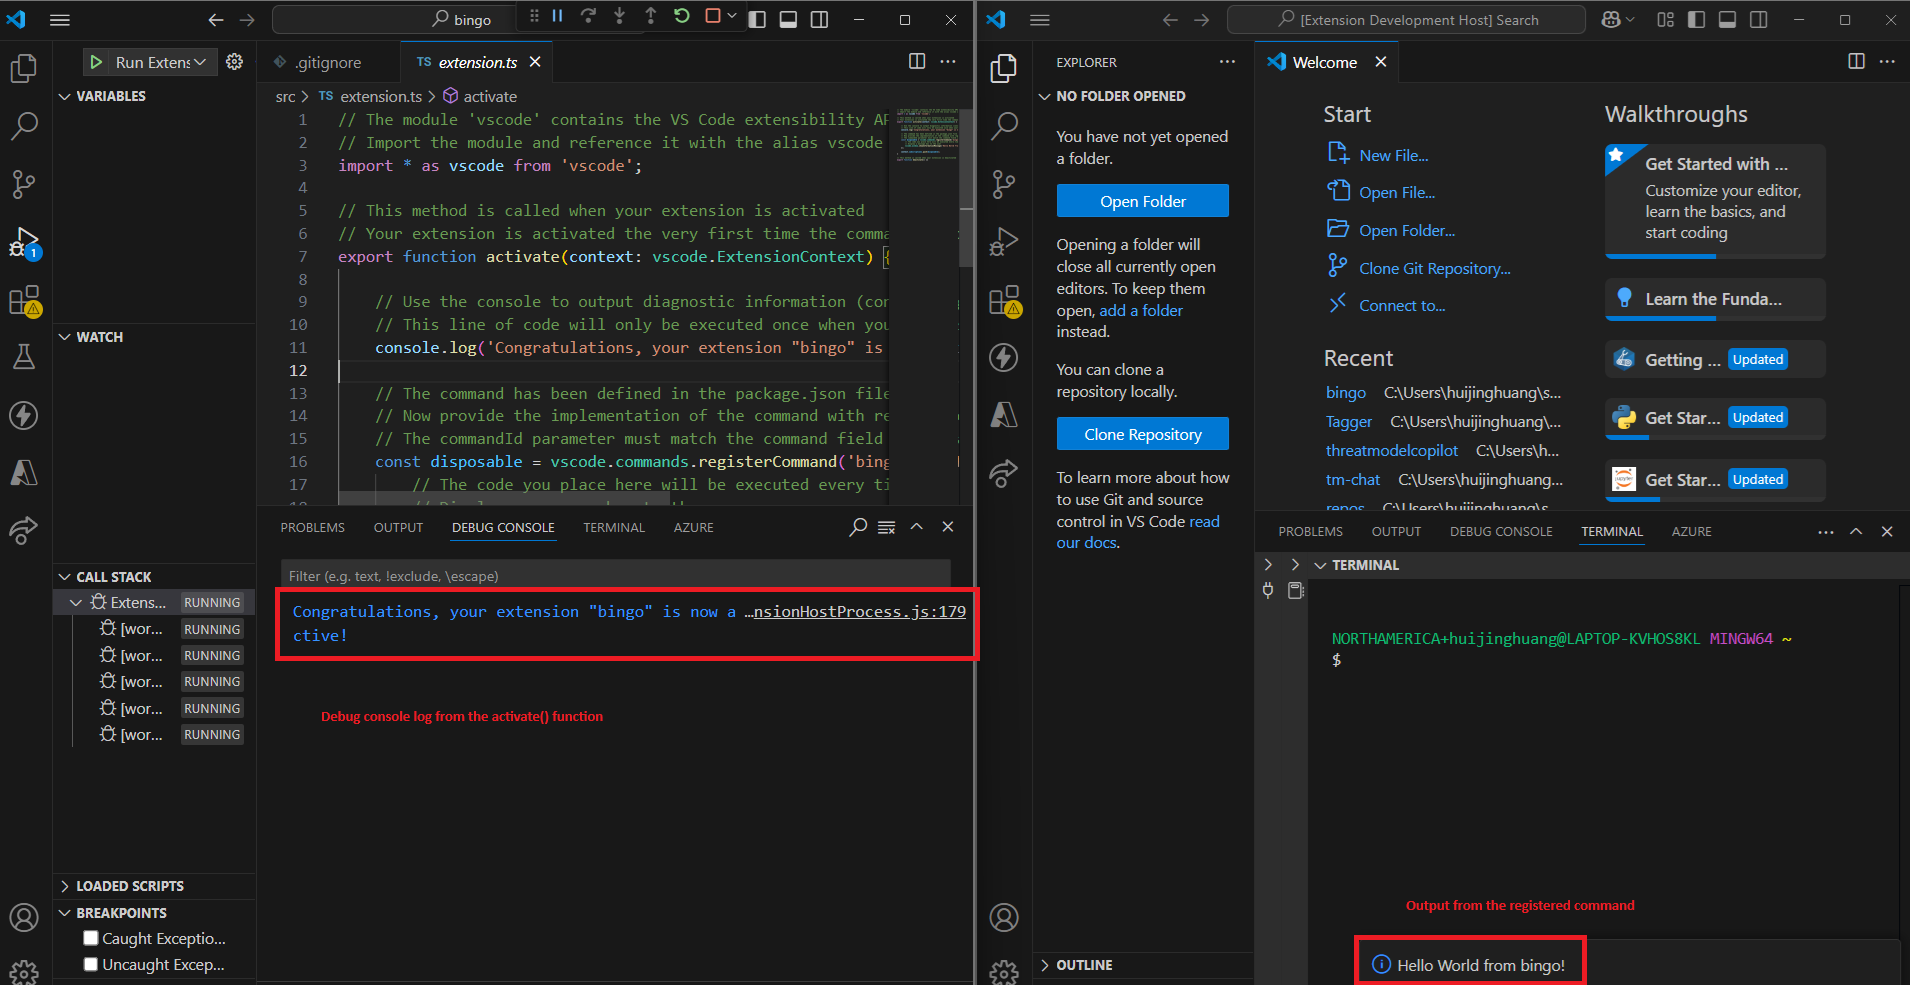
For instance, I created a vscode extension that called bingo. Here’s the starter code generated by yo:
export function activate(context: vscode.ExtensionContext) {
  console.log('Congratulations, your extension "bingo" is now active!');

  const disposable = vscode.commands.registerCommand("bingo.helloWorld", () => {
    vscode.window.showInformationMessage("Hello World from bingo!");
  });

  context.subscriptions.push(disposable);
}
Package.json
  "main": "./out/extension.js",
  "contributes": {
    "commands": [
      {
        "command": "bingo.helloWorld",
        "title": "Hello World"
      }
    ]
  },
The main property points to the entry point of this extension, which locates at ./out/extension.js.
The contributions section includes all the contributions that you add to the extension, in this case, a new type of command.
A contribution is a very imporant concept in VSCode extension, and a command is just one type of it.
Launch The Extension
Simply press F5.
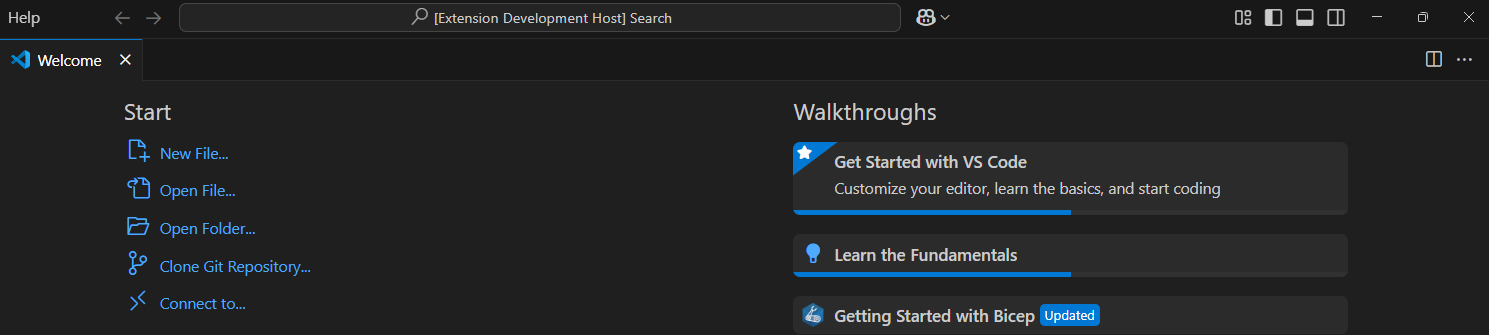
It will launch a new Extension Development Host window:
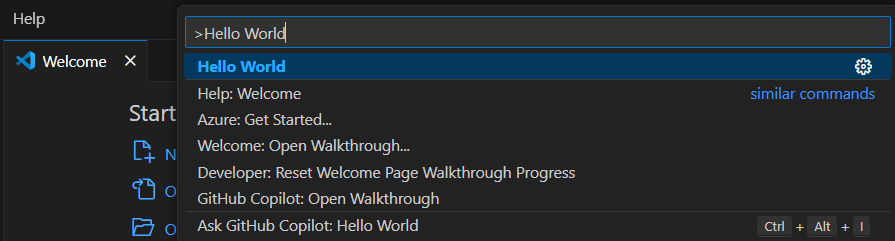
You can then run the Hello World command from the command palette (ctrl + shift + p):
Here’s the output:
Chat Extension
To create a chat extension, you will need to add the chatParticipants contribution to the package.json:
{
  "contributes": {
    "chatParticipants": [
      {
        "id": "bingo",
        "name": "bingo",
        "description": "Bingo is a chat participant that helps make threat modeling easy.",
        "isSticky": true
      }
    ]
  }
}
Run the new extension with F5, and now you should be able to use @ to chat with your extension:

Commands
You can add commands to the chat participant so that you can leverage them very easily:
{
  "contributes": {
    "chatParticipants": [
      {
        "id": "bingo",
        ...
        "commands": [
          {
            "name": "explain",
            "description": "Explains threat modeling concepts and practices."
          },
        ]
      }
    ]
  }
}
With this, you can invoke the command directly from the extension:

Request Handler
Now, we can implement the request handler:
export function activate(context: vscode.ExtensionContext) {
  console.log('Congratulations, your extension "bingo" is now active!');

  // Add the chat request handler
  const handler: vscode.ChatRequestHandler = async (
    request: vscode.ChatRequest,
    context: vscode.ChatContext,
    stream: vscode.ChatResponseStream,
    token: vscode.CancellationToken
  ) => {
    if (request.command === "explain") {
      // Implement your logic to handle the "explain" command
    } else {
      // Default case: handle the request as a message
    }
  };

  vscode.chat.createChatParticipant("es365se-threat-modeling.bingo", handler);
}
Conclusion
Alright, that’s the basics of VSCode extension and the Chat Participant contribution.
Happy developing with your own cool chat extension!